If you’re entering the app development world and considering adding authentication and authorization features, Keycloak might be on your radar. Keycloak is an open-source identity and access management solution that helps you manage your apps’ users, roles, and permissions. This article provides tips and tricks for Keycloak app developers for making the most of Keycloak. We’ll keep things simple, so even if you’re new to this, you’ll get the hang of it!
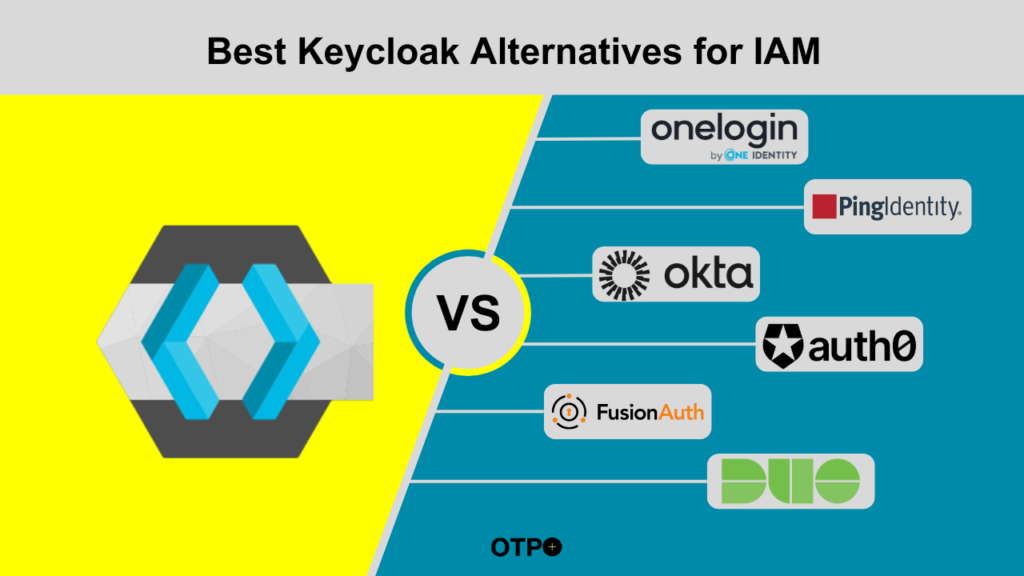
Before we start, if you are looking for top Keycloak alternatives, here is the blog you must read. Now, let’s get started with the basics.
What is Keycloak?
Keycloak is like a security guard for your app. It ensures that users are who they say they are and have the correct permissions to access certain parts of your app. Think of it as a VIP list at a party—only those on the list can get in.
Here is a detailed guide about what Keycloak is and what it does; you must check in.
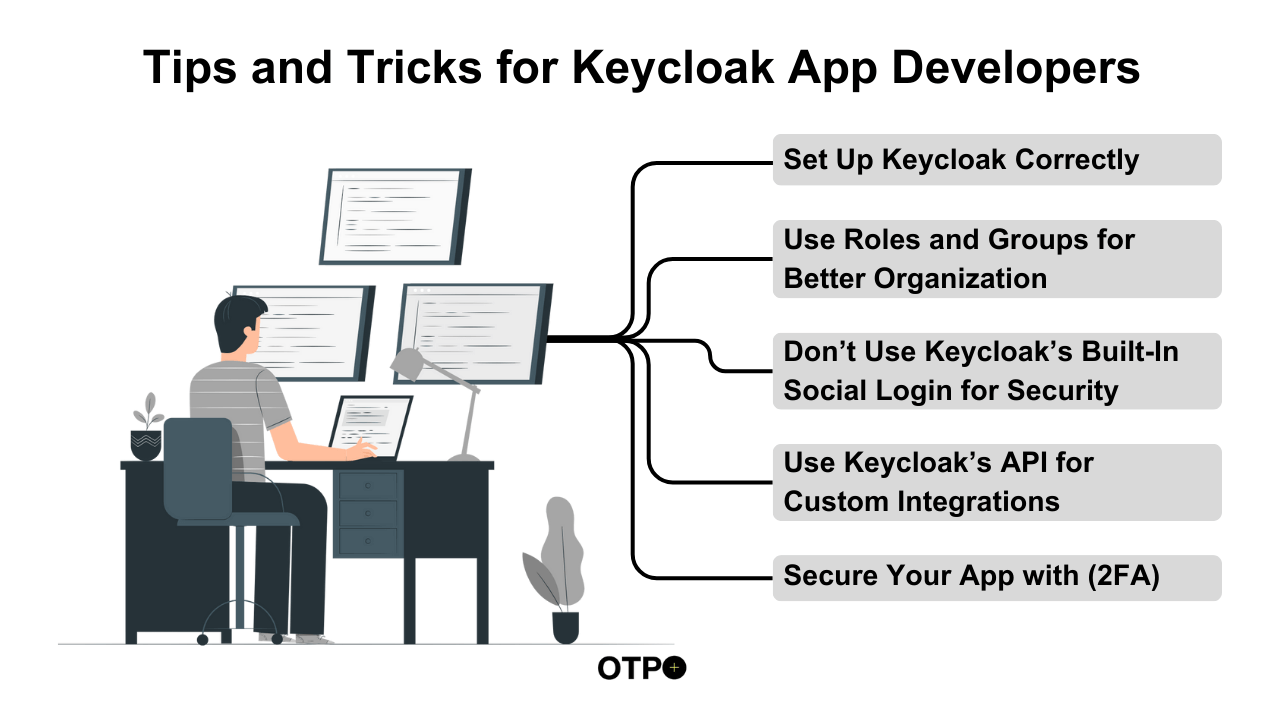
Tips and Tricks for Keycloak App Developers
Tip 1: Set Up Keycloak Correctly
Why It Matters
Setting up Keycloak properly from the start can save you a lot of headaches later. Imagine building a house with a shaky foundation—it won’t end well!
How to Do It
- Install Keycloak: You can run Keycloak locally or use it as a Docker container. If you’re new to Docker, check out the official Keycloak documentation for installation steps.
- Create a Realm: A realm is like a container for managing your users and applications. Start by creating a realm for your app. For example, if you’re building a social media app, you might name your realm “SocialMediaApp”.
- Set Up Clients: Clients are applications that will use Keycloak for authentication. In the Keycloak admin console, add a new client for each of your apps.
Tip 2: Use Roles and Groups for Better Organization
Why It Matters
Roles and groups help you manage what users can do within your app. It’s like assigning roles in a play—each actor has a specific part.
How to Do It
- Create Roles: Define roles such as “Admin”, “User”, and “Guest”. Assign these roles to users based on their needs.
- Create Groups: Groups are collections of roles. For example, you could create a “BetaTesters” group with roles assigned to all beta testers.
Tip 3: Don’t Use Keycloak’s Built-In Social Login for Security
Why It Matters
While social login options like Google or Facebook can make it easier for users to sign in, relying on these built-in social logins might pose security risks. Think of it as using a public gate for a secure facility—it’s convenient but potentially exposes you to vulnerabilities.
Why Avoid It?
- Security Concerns: Attackers can sometimes target social logins. If a social media account is compromised, it could lead to unauthorized access to your app.
- Privacy Issues: Integrating social logins might expose your users’ data to third-party platforms, which could concern privacy-conscious users.
- Control and Customization: Using built-in social logins limits your control over the authentication process. Custom solutions often offer better security and flexibility.
Here are more reasons to avoid social login that you should consider.
What to Do Instead
- Implement Custom Authentication: Develop an authentication system that meets your app’s security requirements. This gives you complete control over the security measures you implement.
- Use Two-Factor Authentication (2FA): Enhance security by requiring a second form of verification in addition to the usual password. This adds a robust layer of protection against unauthorized access.
By avoiding the built-in social login features and opting for a more secure and customizable approach, you can better protect your users and maintain control over the authentication process.
Tip 4: Secure Your App with Two-Factor Authentication (2FA)
Why It Matters
Two-factor authentication adds an extra layer of security. It’s like having a second lock on your door—more security means fewer chances of unauthorized access.
How to Do It
- Enable 2FA: Go to the “Authentication” section in the Keycloak admin console and set up two-factor authentication.
- Test It: Test the 2FA setup to ensure it works smoothly for users.
Tip 5: Use Keycloak’s API for Custom Integrations
Why It Matters
Sometimes, you might need to interact with Keycloak programmatically to fit your app’s needs. It’s like using special tools to customize your house.
How to Do It
- Explore the API: Keycloak provides a REST API for managing users, roles, and more. The API documentation provides details.
- Implement Custom Solutions: Use the API to build custom features or integrations, such as syncing user data with another system.
Here is another blog for you if you are about to develop a Keycloak extension and looking for tips before developing a Keycloak extension.
Conclusion
Although there are many Keycloak alternatives, Keycloak is a powerful tool for managing authentication and authorization in your app. By following these tips and tricks, you’ll be well on your way to implementing a secure and user-friendly authentication system. Remember, the key to mastering Keycloak is practice and exploration. So dive in, experiment, and make your app as secure as a top-secret vault!